As a professional tool equipment service provider, through the accumulated technical foundation and manufacturing strength over the years, Taixing Zhizao has successfully developed peripheral grinder, CNC super hard tool production special grinding machine, automatic blade negative chamfering machine and other special equipment for cutting tool production scheme. It has applied for 73 patents, and most of the new product performance indicators are in the advanced level of the industry.
With nearly 20 years of experience in the cutting tool industry and continuous R & D and innovation in technology, Taixing Zhizao has independently developed and produced more than 60 kinds of cutting tool equipment, and has achieved a number of technological innovation breakthroughs in the application fields of automobile, it, mechanical manufacturing, precision cutting tools and precision parts. Seiko creates quality and intelligent manufacturing creates the future. Taixing always leads the development of cutting tool equipment industry with technological innovation

The tool preset series products are suitable for measuring the precise coordinate position of the cutting edge of boring and milling tools and turning tools used on CNC machine tools, and can check the quality of the cutting edge of the tool, measure the Angle of the tool tip, the radius of the arc and the radial runout of the disk type of tools.

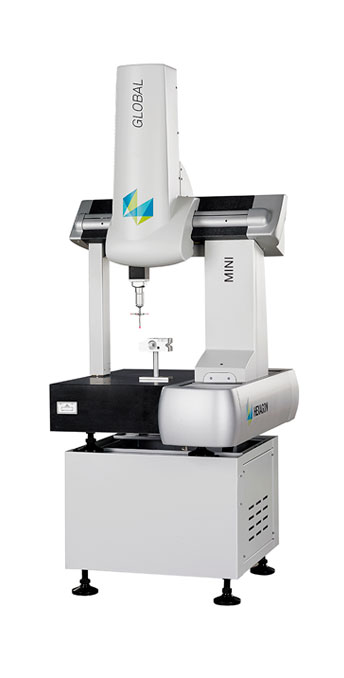
The utility model relates to a detector that can be moved in three directions and can be moved on three mutually perpendicular guide rails. The detector transits signals by means of contact or non-contact. The displacement measurement system of three axes is an instrument for measuring the points (X, Y, Z) and various functions of the workpiece calculated by the data processor or computer.
It is mainly used for measuring complex fixtures and grinder parts with high precision and high requirements.

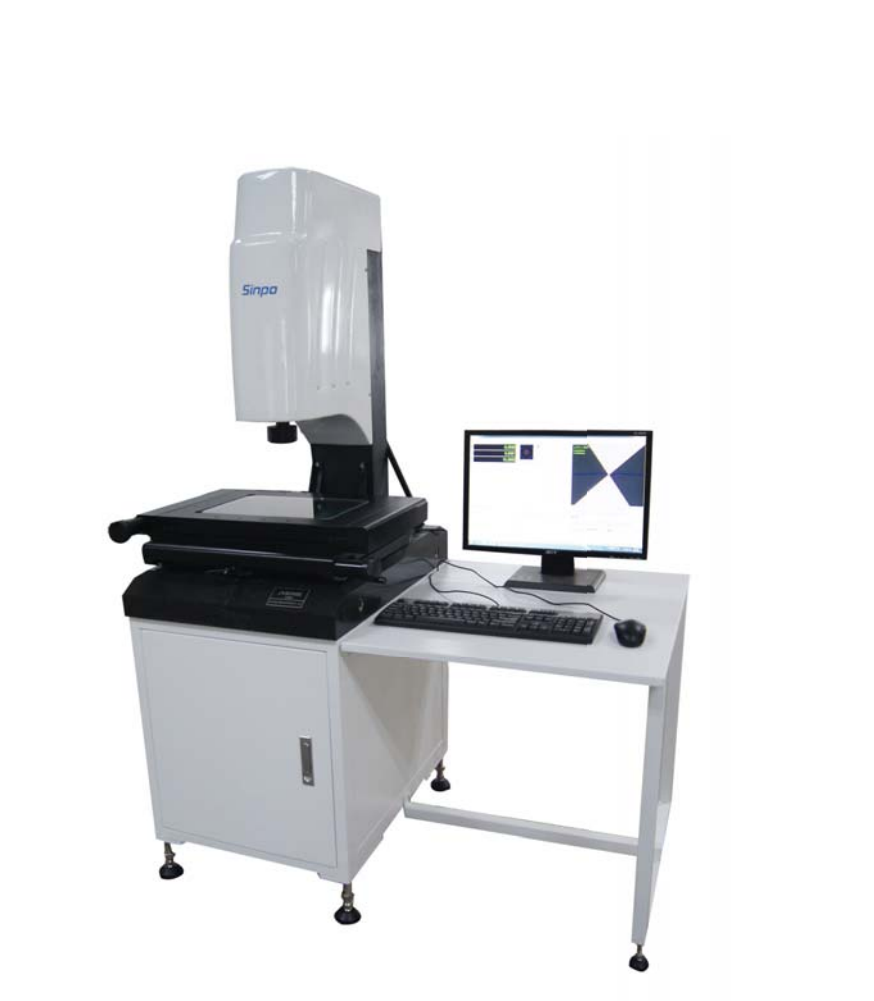
Combined with CCD camera and optical ruler, it is suitable for all application fields for the purpose of two-dimensional coordinate measurement. It can generate graphics on the screen for the operator to compare the image and shadow, so as to intuitively distinguish the possible deviation of the measurement results, which greatly improves the inspection efficiency and accuracy. It is mainly used for batch testing of blade grinding samples.


